

自作のレフ板で明るくする!メルカリの出品写真は撮影ライトいらず
うずら
うずらブログ

このような悩みや疑問を解決します。

こんにちは!動画制作歴10年以上のうずらと言います
サムネイルは記事や動画の印象を決める重要な要素、単に「画像を並べただけ」では埋もれてしまいます。

サムネイルで差をつけたい
という方には、グランジ加工がおすすめ。
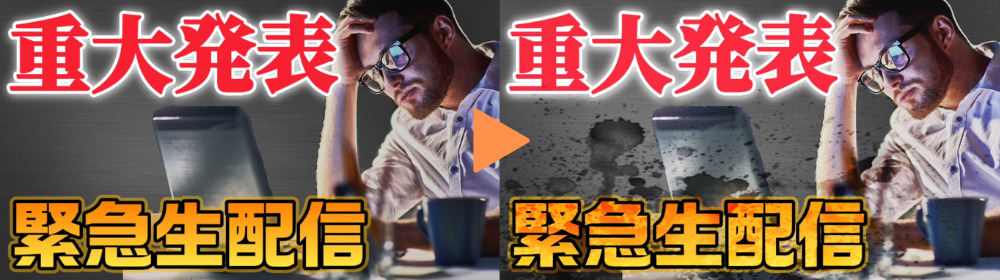
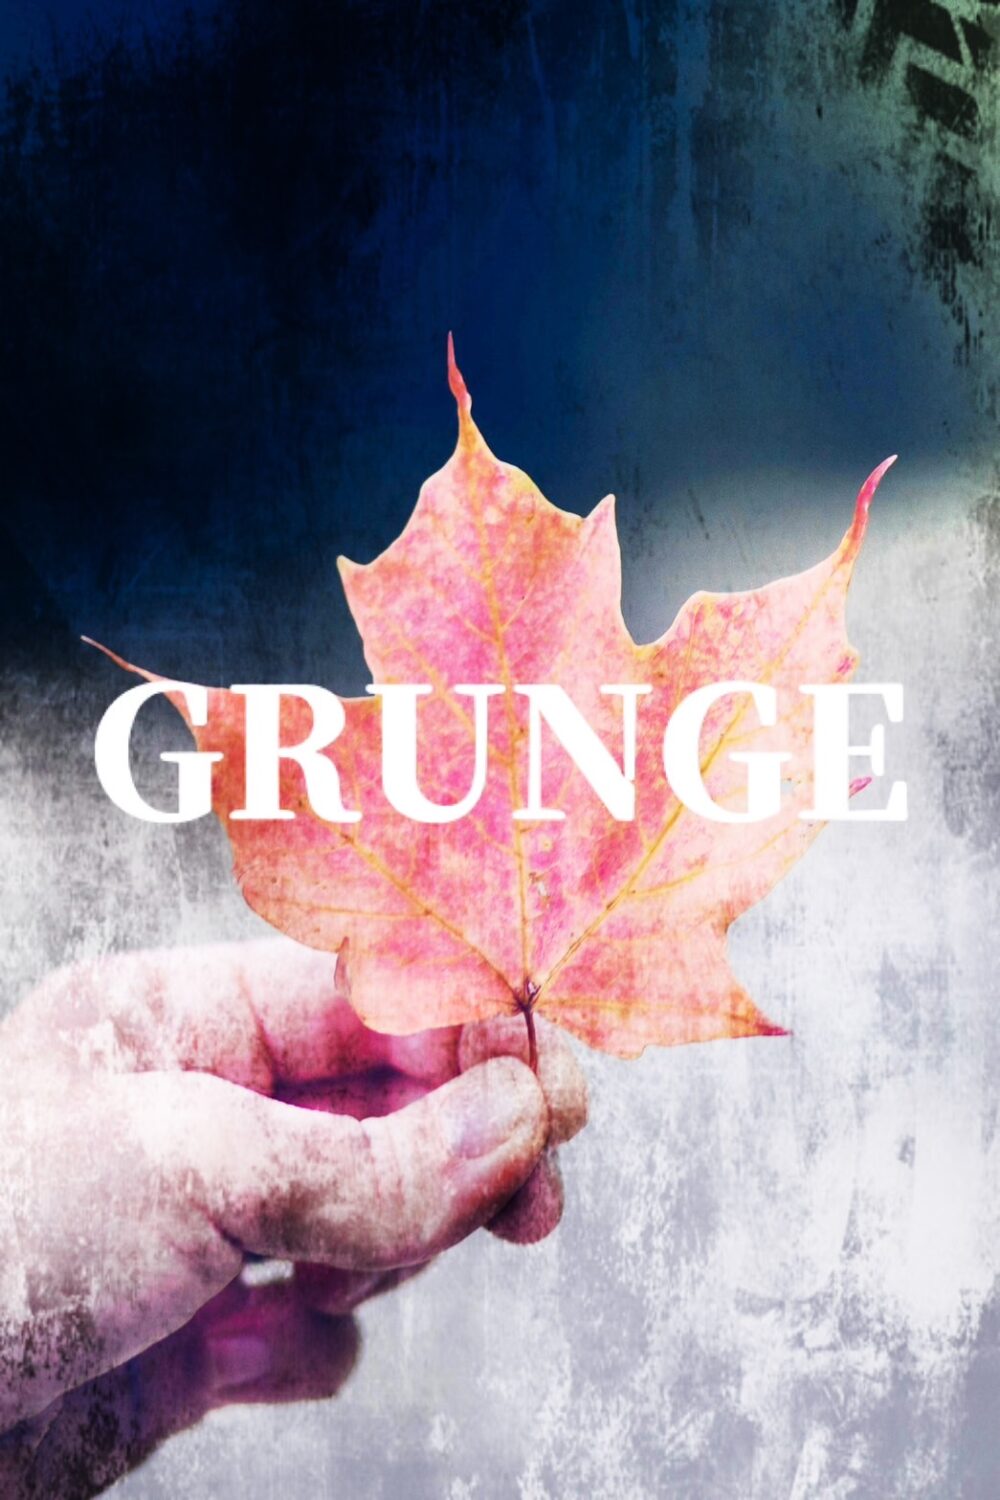
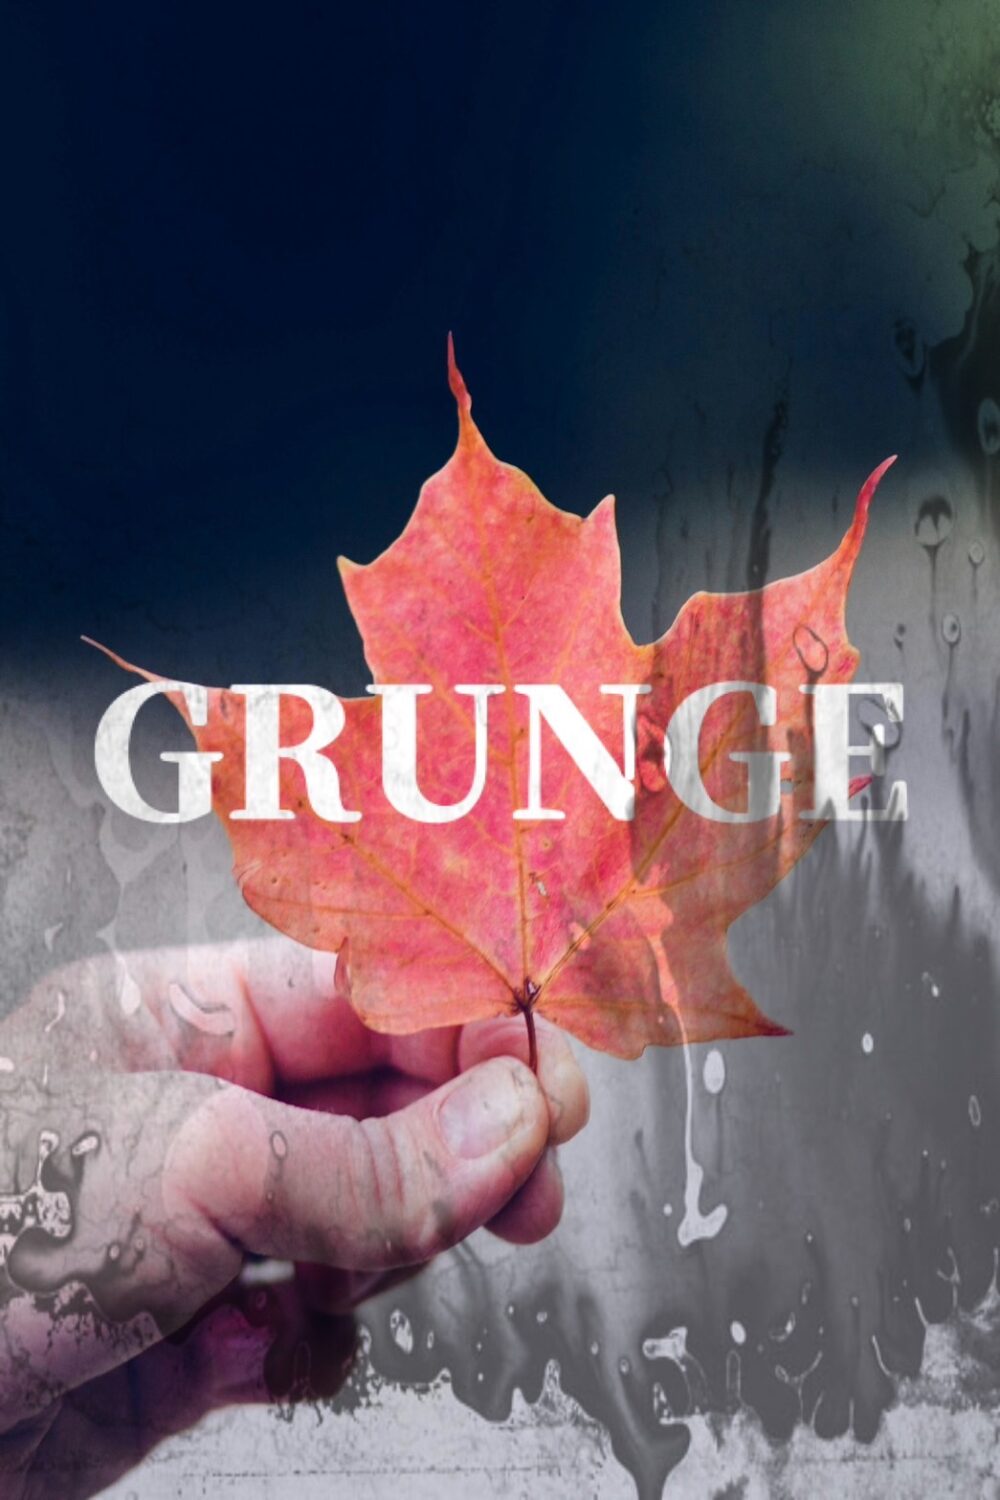
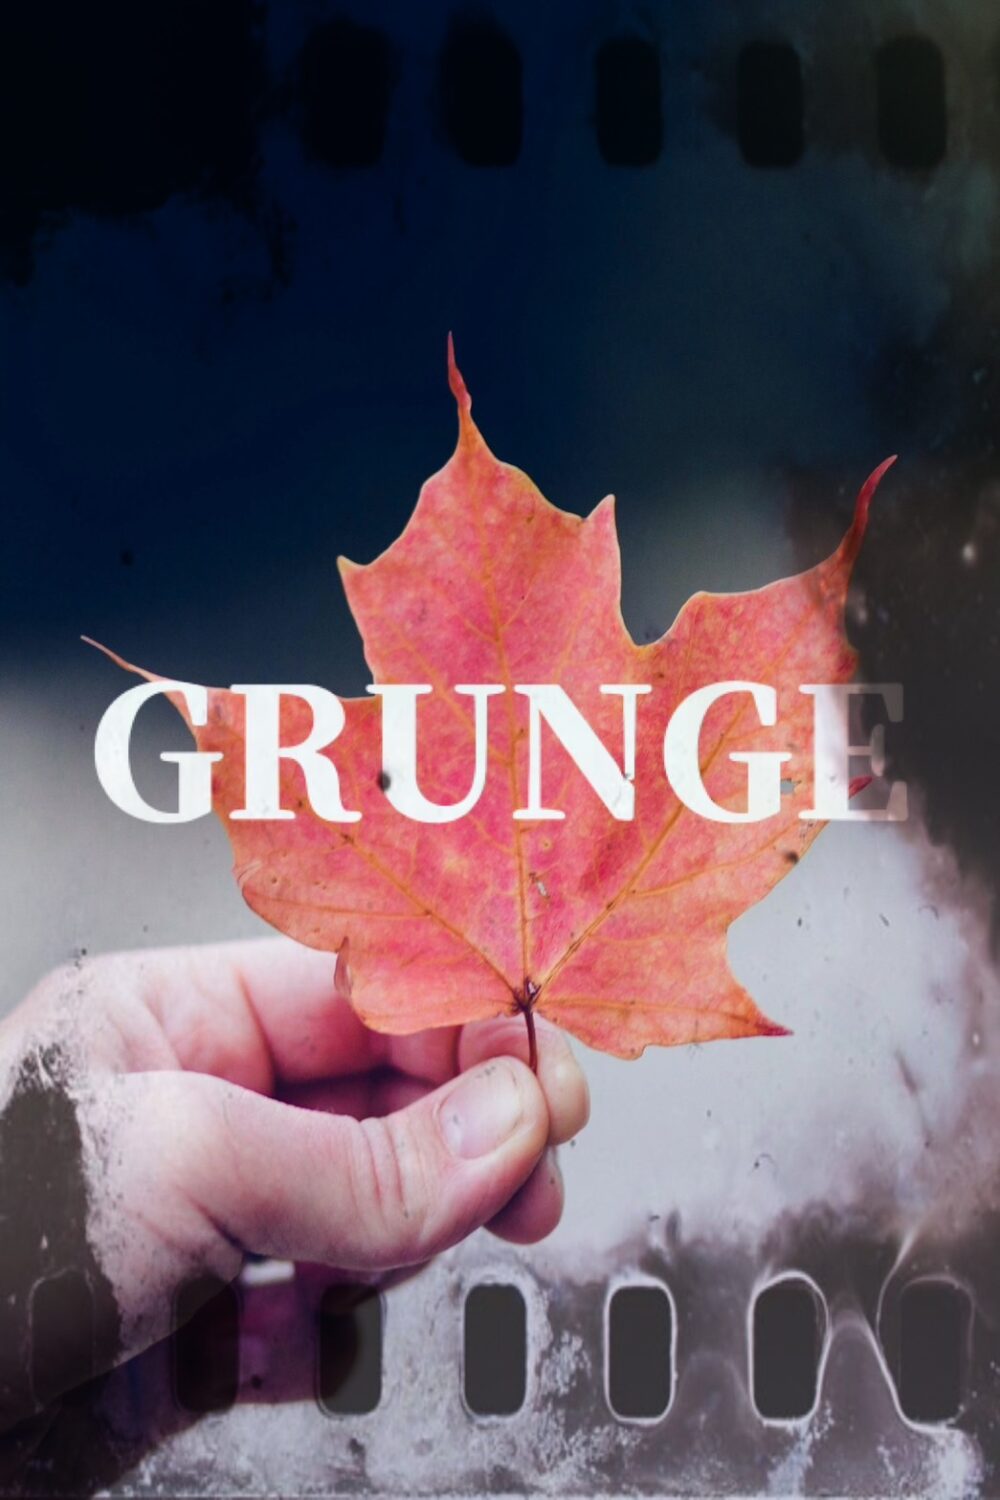
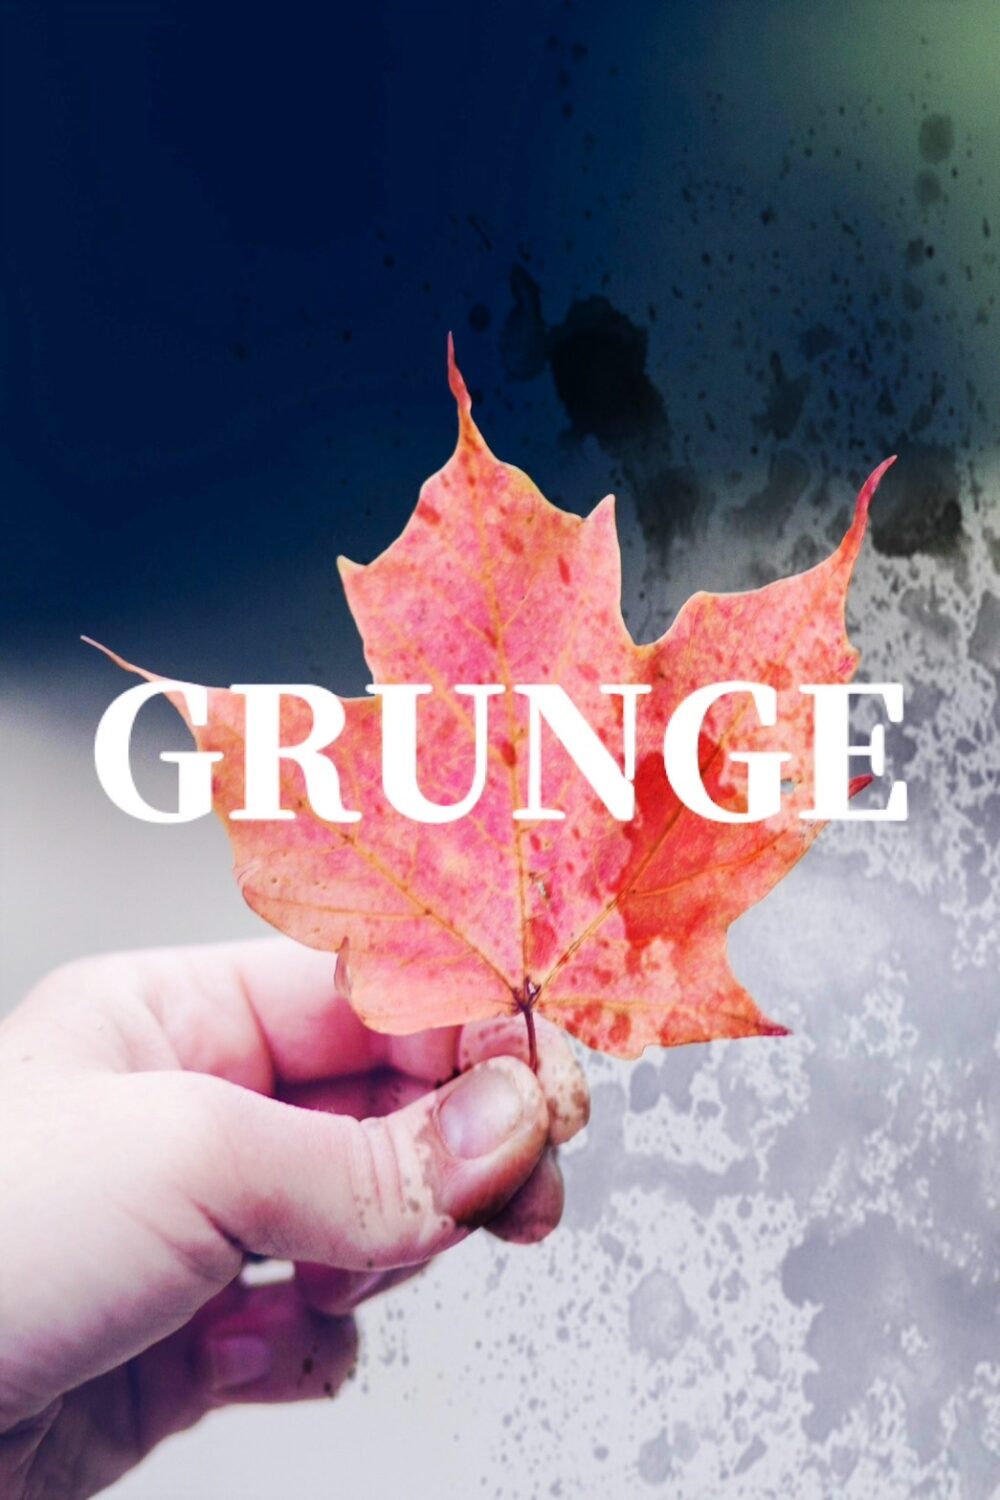
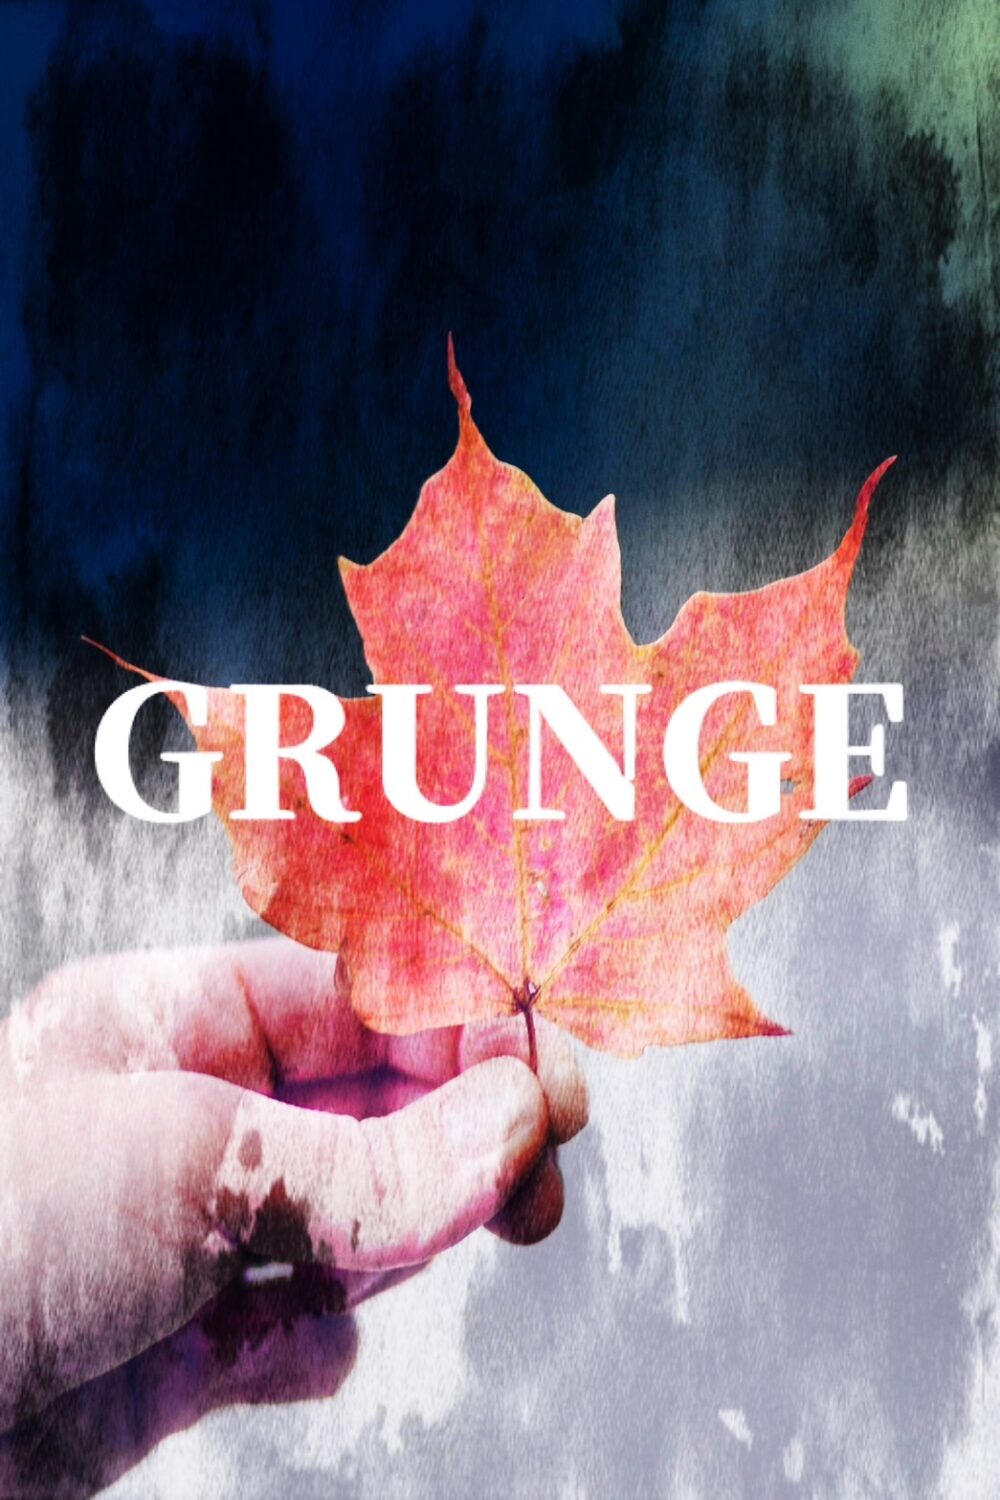
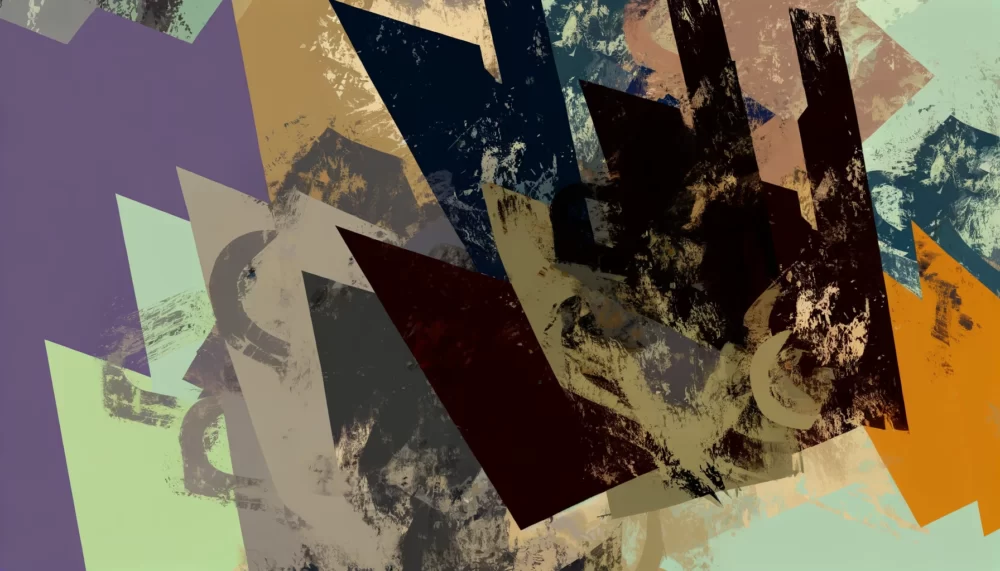
グランジとは「汚す」という意味でザラザラとした質感やノイズを加える手法、特にセンセーショナルな内容を演出するのに最適な加工方法で、
単に文字をのせるよりも、目をひきやすくなります。
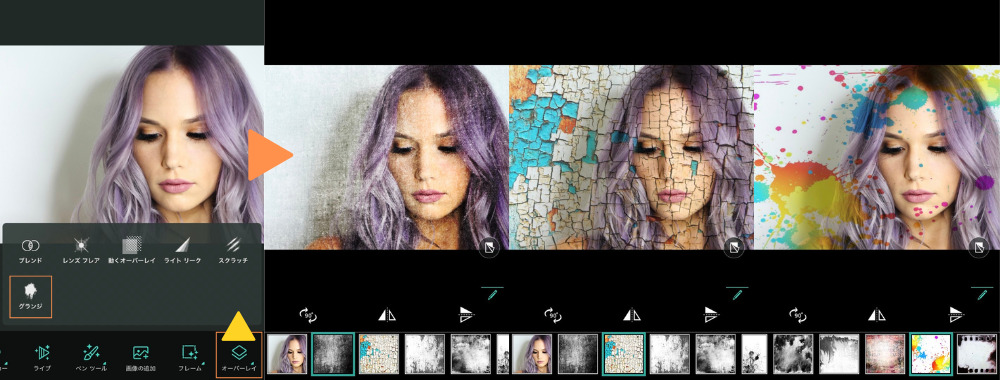
▼右がグランジ加工したもの▼
グランジ加工ならPhotoDirectorがおすすめ!
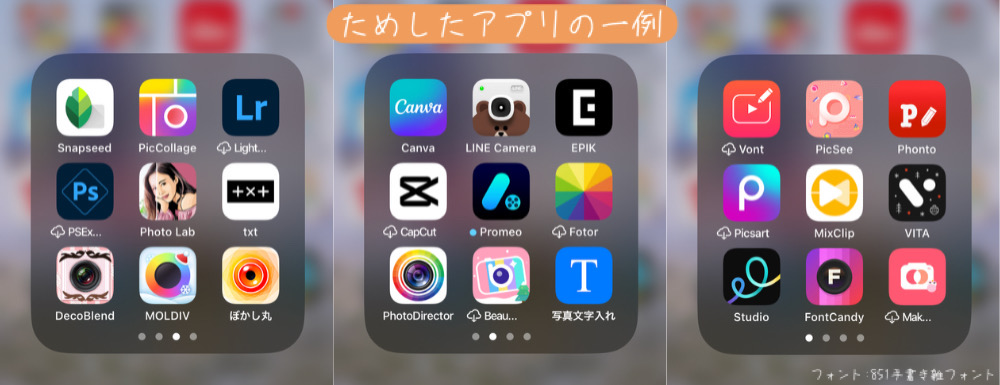
仕事がら画像編集アプリを使うことも多く、グランジ加工におすすめなのがPhotoDirector(フォトディレクター)というスマホアプリ。
上記の画像もPhotoDirectorで作成したものです。
この記事では、
について解説。
実際にYouTubeのサムネイルを作成している著者が、画像付きで丁寧に、できる限りわかりやすく説明しますので、ぜひ参考にしてください。
グランジ加工をPhotoDirector(フォトディレクター)やるメリットは下記のような点です。
PhotoDirectorを使うメリット
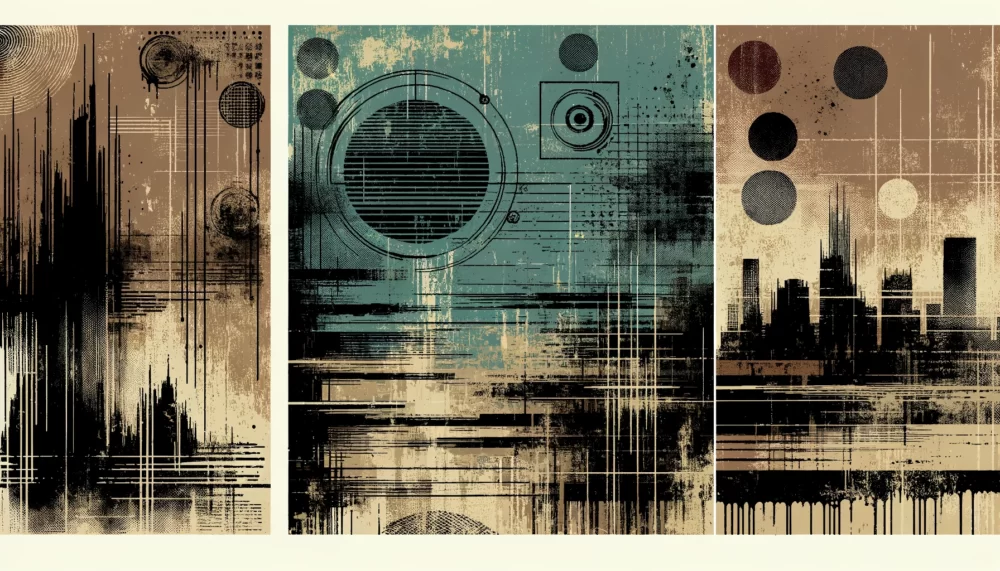
PhotoDirectorのグランジは10種類あり、全て無料で使えるのがうれしい点です。

グランジを使う手順
\まずは下記からアプリをダウンロード/
アプリを起動したら「編集」というボタンから加工する写真を選び、画面下の「オーバーレイ」という項目から【グランジ】を選択。
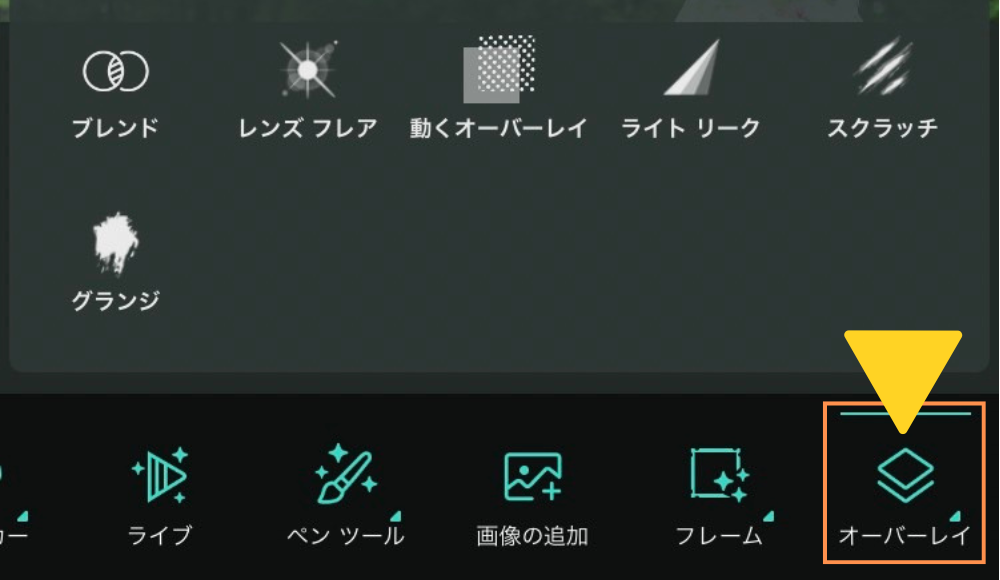
あとは好きな【グランジ】を選ぶだけ。
画面下のボタンでグランジの向きを変えたり、メモリで適応量を変えることができます。
>>関連記事:PhotoDirectorの基本的な操作手順
この項目では、冒頭でも紹介した画像を元に具体的な使い方を解説します。
PhotoDirectorのアプリ1つで作れるよ
作り方の手順
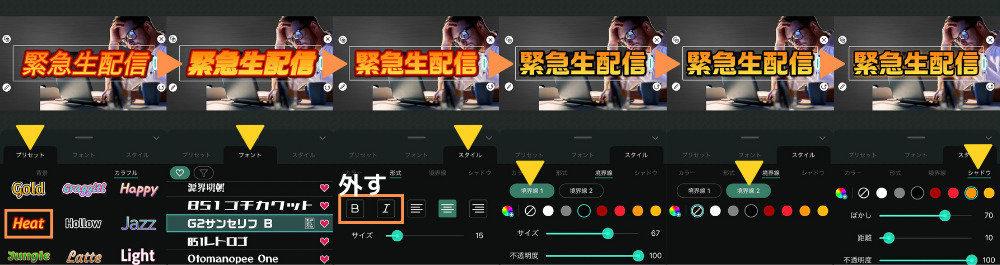
まずは【画像の切り抜き】から切り抜きを作成し「✔︎」で編集を確定、次に【テキスト】を選択。
>>関連記事:PhotoDirectorで切り抜き画像を作る方法
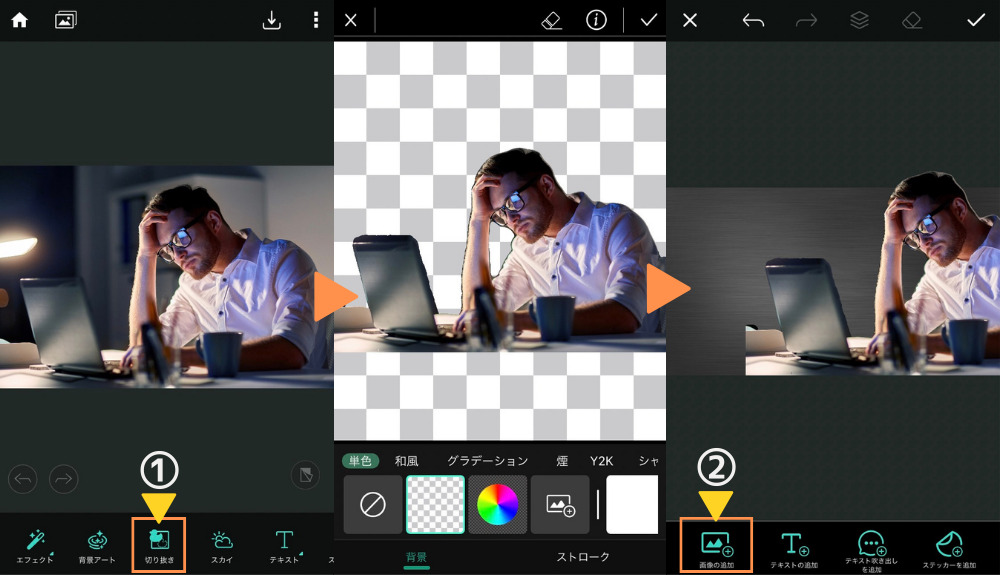
【テキスト】は、以下の設定で作っています。
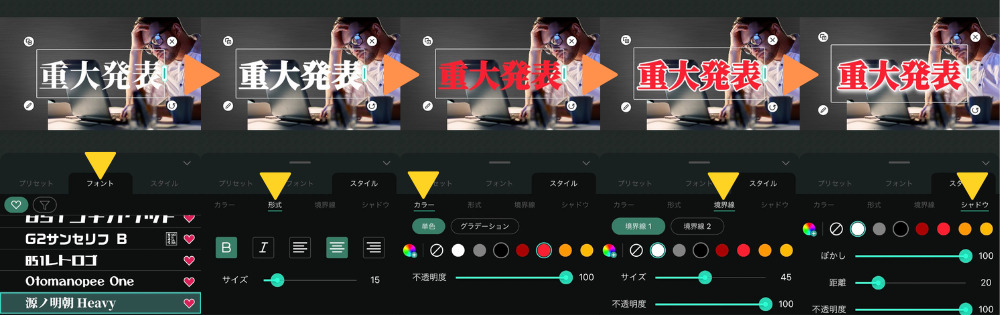
もう1つのテキストは「プリセット」から選び、境界線などを調整します。
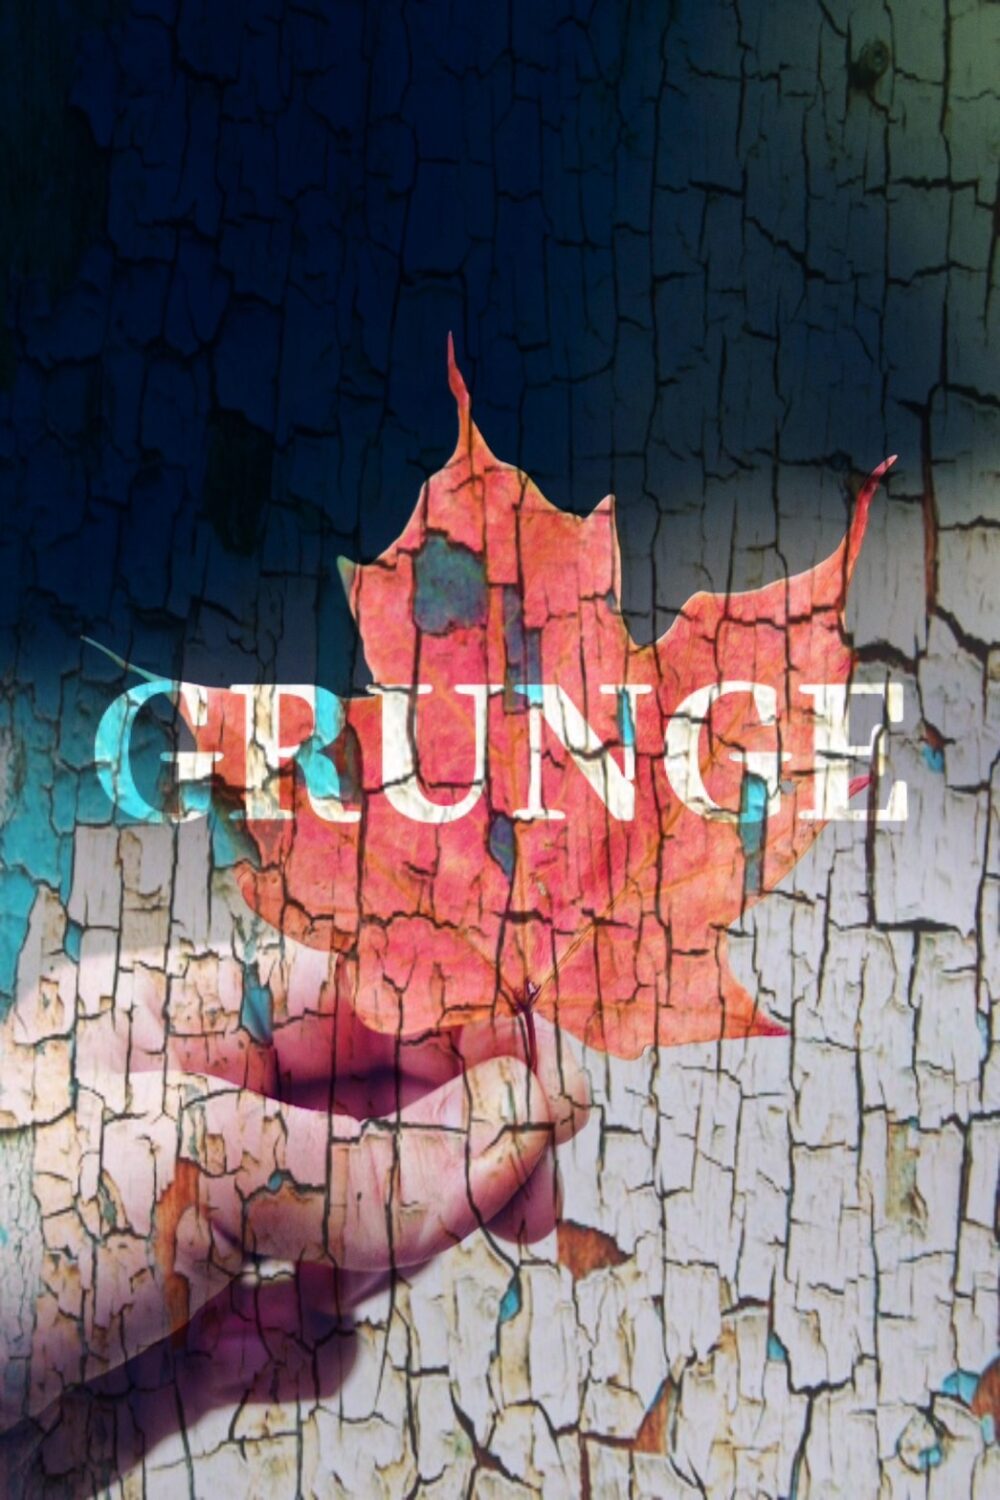
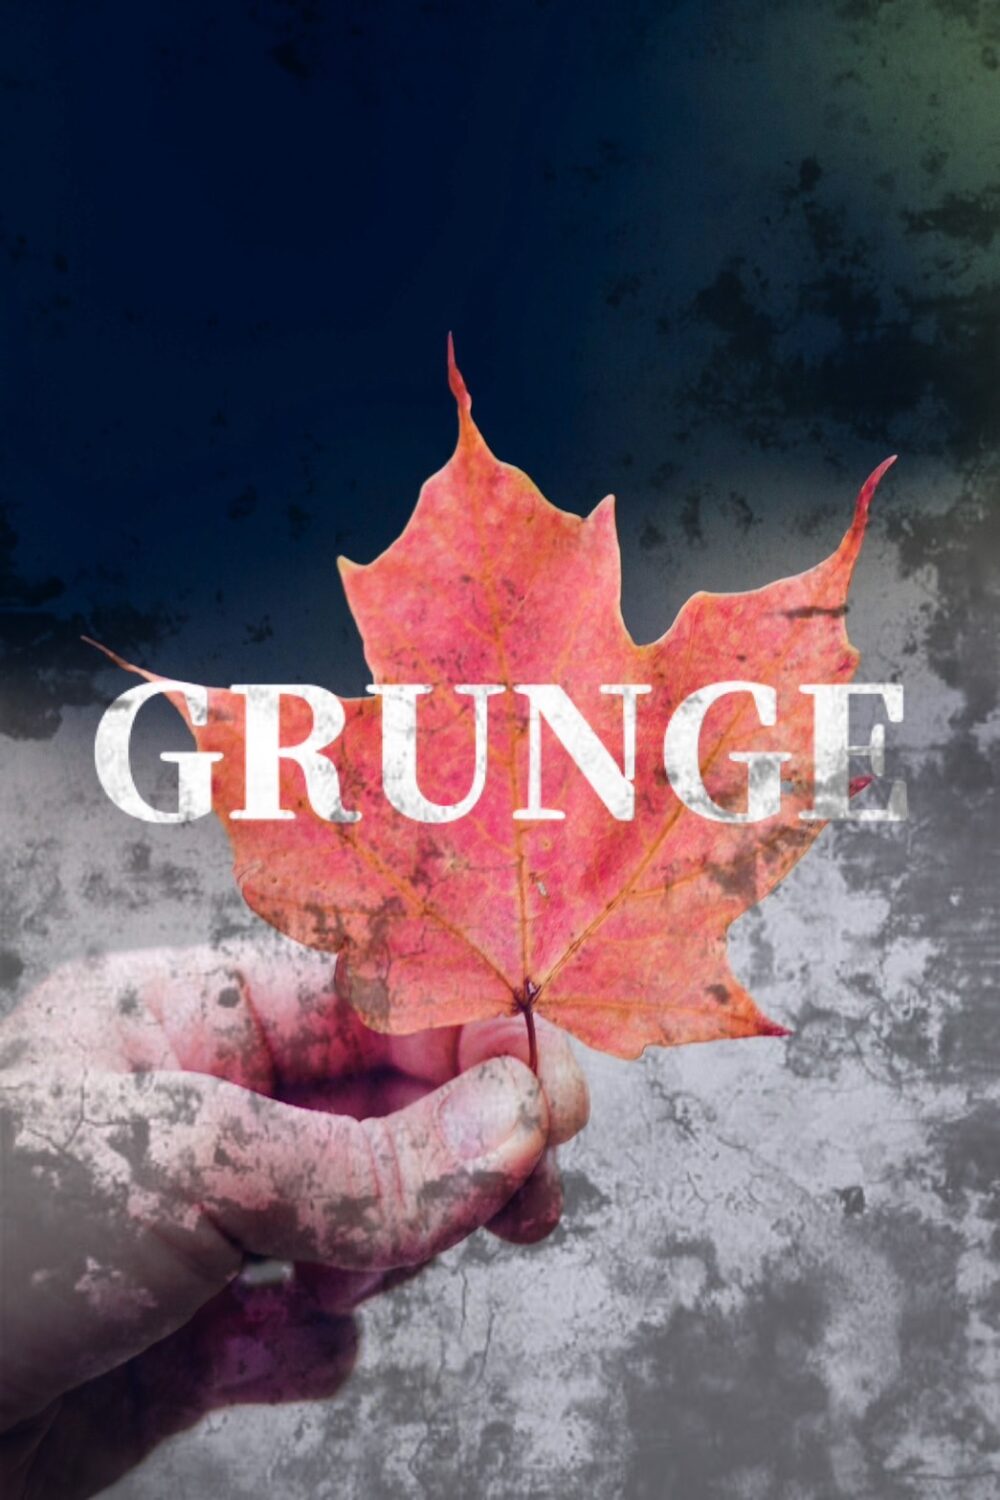
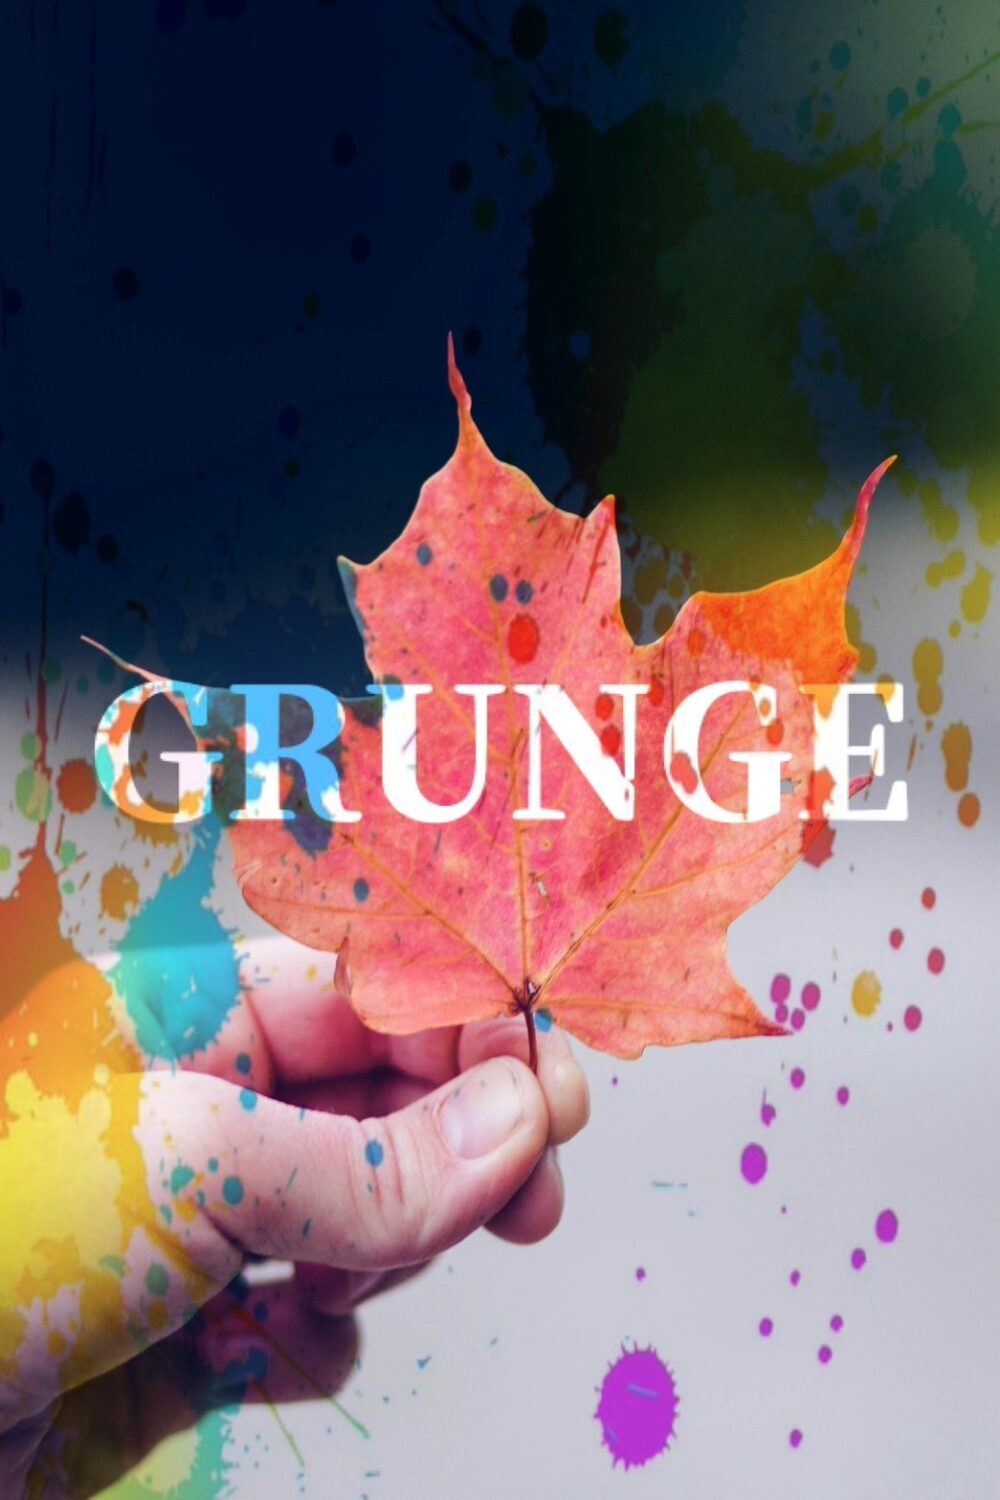
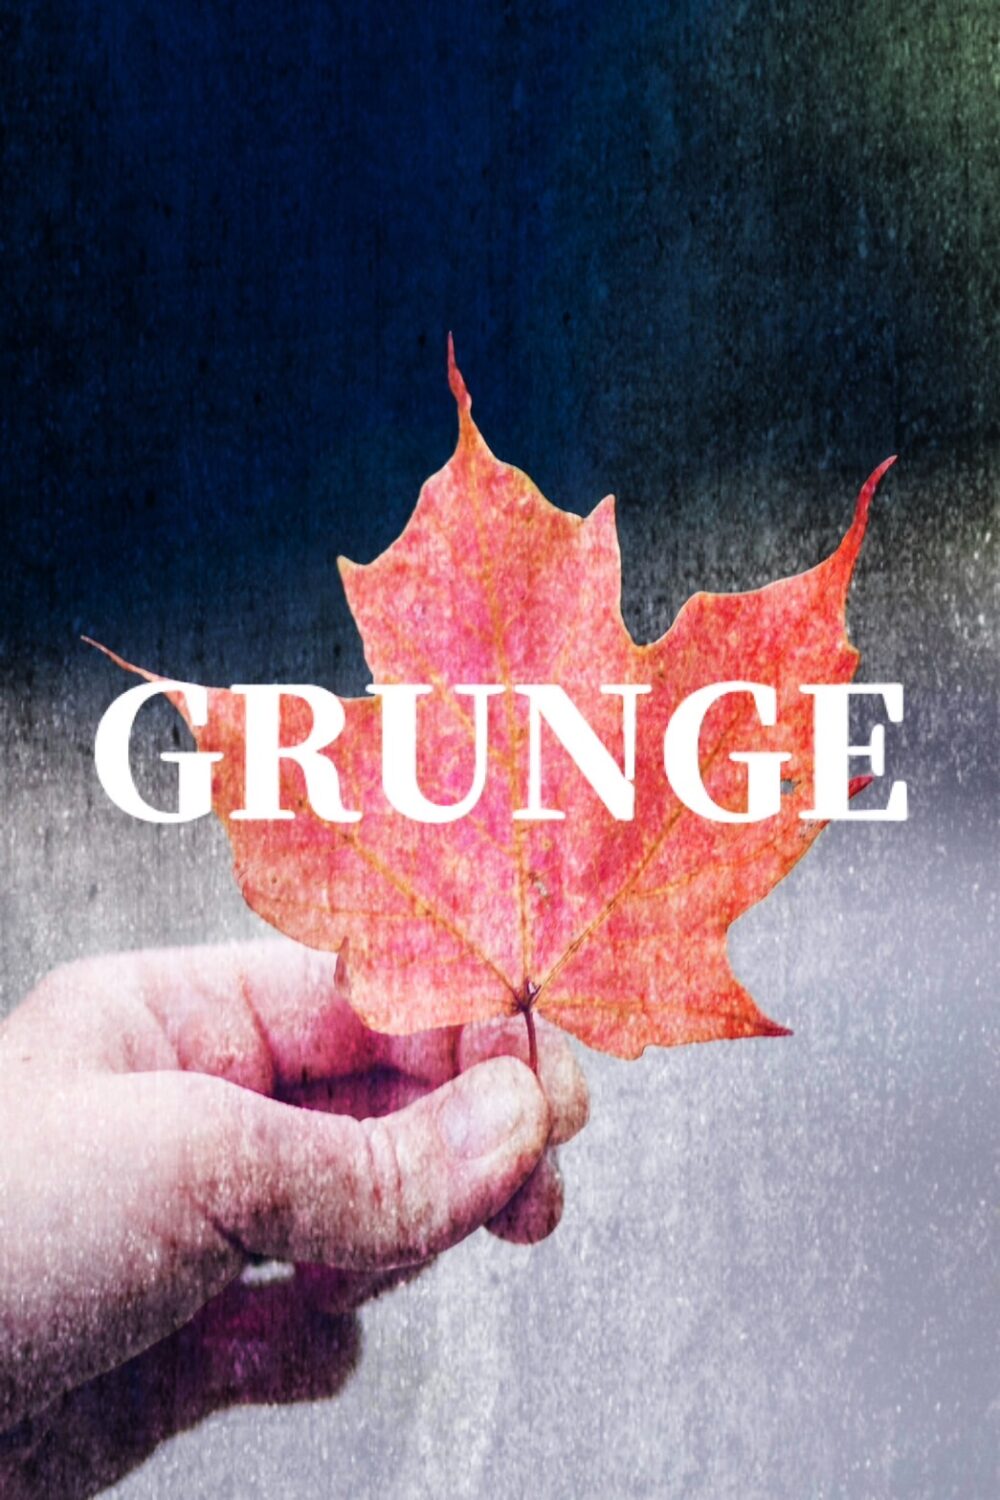
これだけでも雰囲気は出ますが、あおり系のテキストは【グランジ】を足すと、さらに目につきやすいデザインになります。
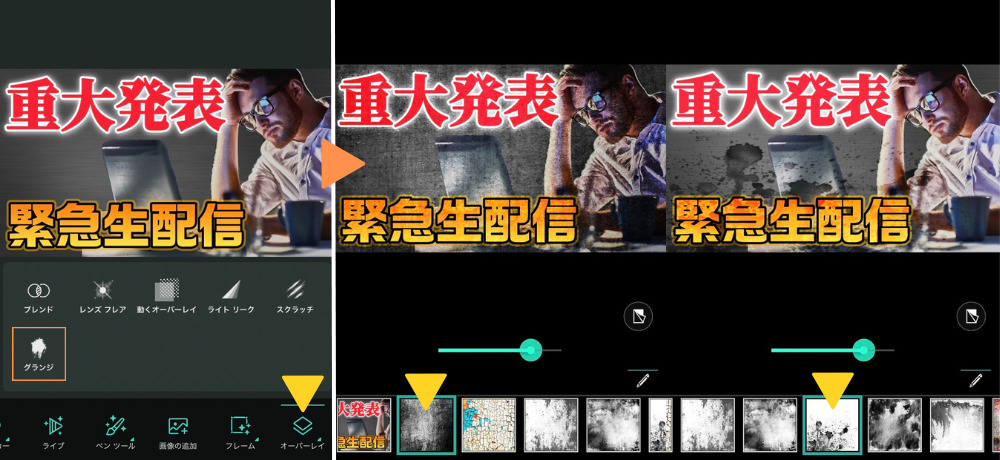
▼グランジを足した方が目をひきやすい▼
>>関連記事:PhotoDirectorでテキストを作る方法

A:視覚的なインパクトを足せる。
荒々しい雰囲気になるので、あおりたい文字にはグランジ加工は有効です。
ただグランジは汚し加工なのでクリーンなイメージのものには不向き、また文字が見づらくなることもあるので、加減は必要です。
A:有料機能を使っている可能性があります。
PhotoDirectorのアプリには有料版があり、たとえばフォント(書体)も1部有料。
知らずのうちに使っていると編集した画像を保存できないということが起きます。
有料機能を使っていると画面右上に「プレミアム」と表示
詳しくは以下の記事を参考ください。
▼関連記事▼
A:有料は1000種類以上の機能が使い放題。
PhotoDirectorのアプリは無料でも十分機能が豊富ですが、有料にすると
というメリットも。
月額283円で使えるので、興味のある方は以下の記事を参考ください。
▼関連記事▼
A:色の調整など、基本的な画像編集機能もおすすめです。
PhotoDirectorにはワンタッチで色を調整できる機能などもあり、ほかにも60種類以上の機能を無料で使うことができます。

全機能をまとめた記事もありますので、よかったら参考にしてください。
▼関連記事▼